Homework 3: MVC View
For this homework, you will create simple, (mostly) static web pages in Rails and practice using the basic version control features of Git.
You will do this homework as a team; however, each member of your team will be responsible for the completion of a particular task.
Step 1. Clone your team’s project-skeleton repo
Rather than starting from scratch, your team is going to start off with a project skeleton. Each team member must clone the skeleton repo, so that each has their own copy to work on.
To get going, do the following:
-
Fire up your Ubuntu VM and SSH into it, using the commands
vagrant upandvagrant ssh. -
Change directory (using
cd) into theworkspacefolder. -
Using your host OS’s web browser, find your team’s repo on GitHub via this link: https://github.com/memphis-cs-projects/
-
Locate the “HTTPS clone URL” on your team’s GitHub-repo page.
-
Back in VM, run the command
git clone MYURLsuch that MYURL is your team’s HTTPS clone URL. This command creates a folder that has the same name as your team’s repo and that contains a working copy of the project code and a copy of the repo. -
Change directory into this folder. No message from RVM will be displayed, but you can confirm that RVM is using the correct Ruby version and gemset by running the commands
rvm list(should indicate that the Ruby version is2.5.1) andrvm gemset list(should indicate that the gemset isapp). -
Install the gems (i.e., library dependencies) that the project needs by running the following commands. These commands install all the libraries (gems) that you’ll need to build and run the project.
gem install bundlerbundle install
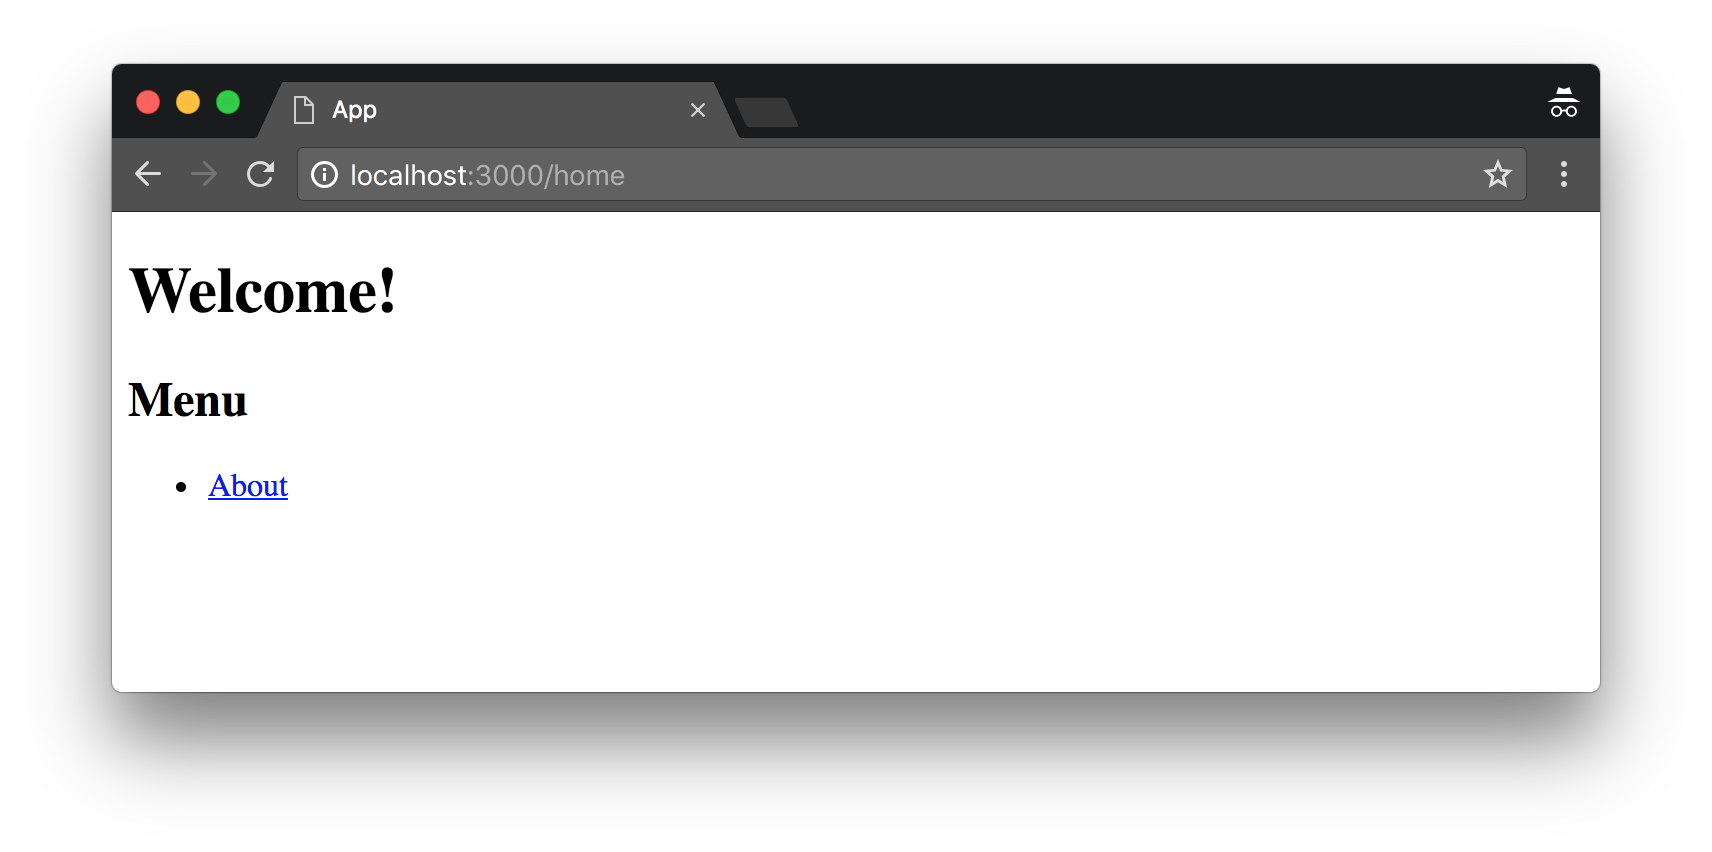
You can now test the skeleton by first starting the Rails server with the command rails s –b 0.0.0.0, and then opening the URL http://localhost:3000/ in a web browser in your host OS. You should see a homepage that looks like this:

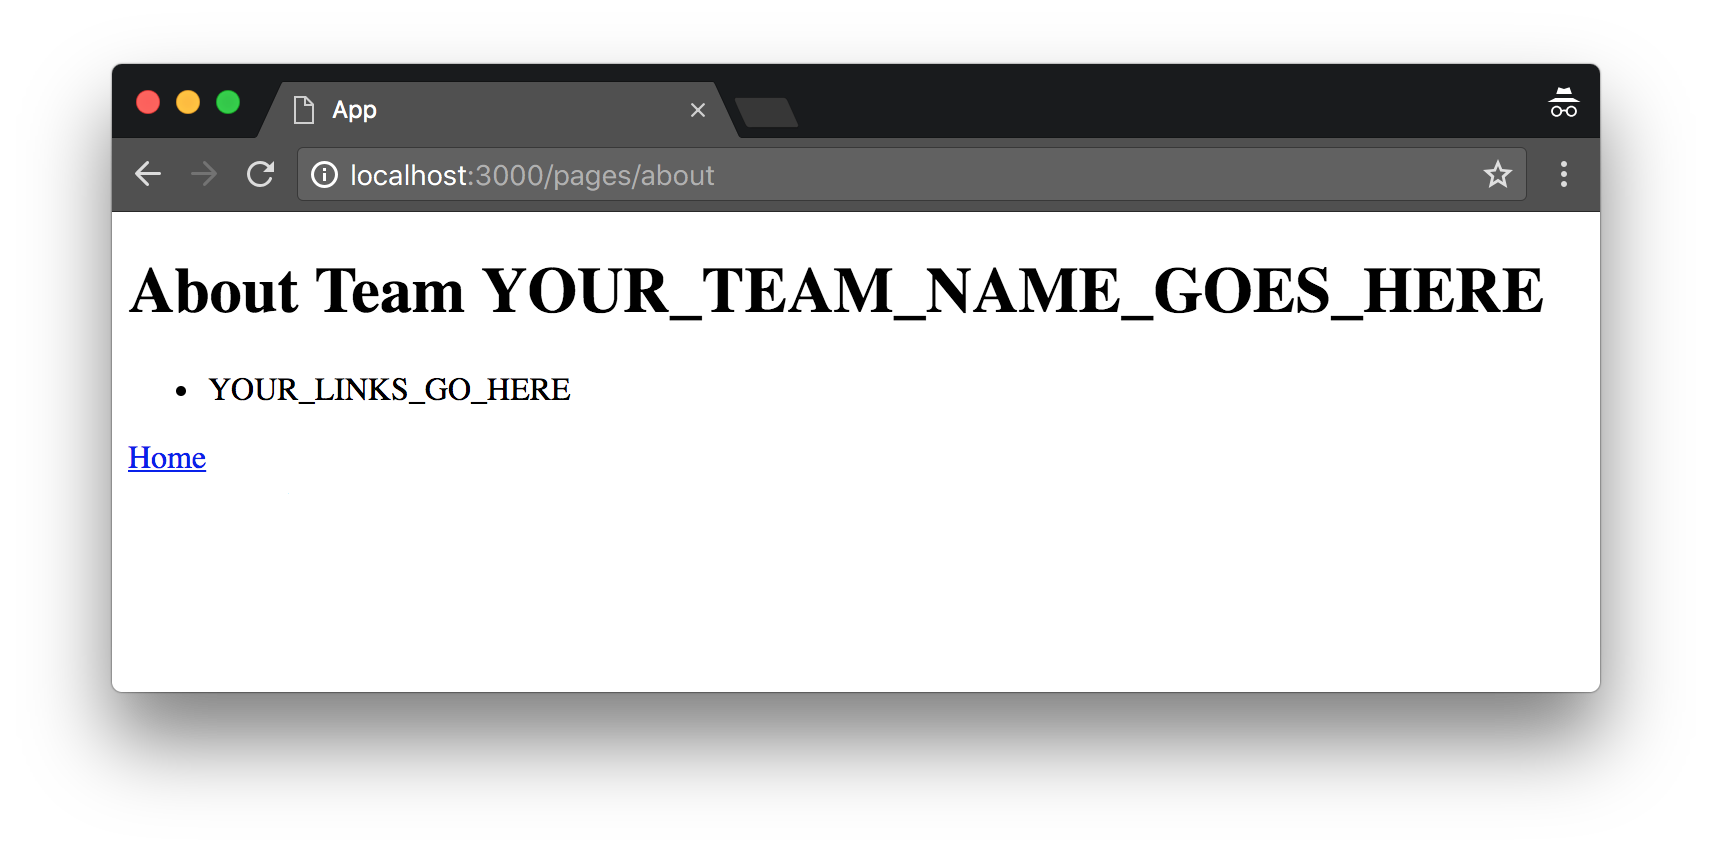
If you click the “About” link, you should see an About page that looks like this:

Step 2. Create web pages
Each team member must create two web pages:
- Personal profile page. This page should present fun info about yourself and your interests. Be creative in designing your page, but follow these constraints:
- Your name must be displayed prominently.
- The URL path must be your UofM email username (e.g., mine would be http://localhost:3000/sdflming).
- You must include a picture of yourself.
- Software review and discussion page. The page should present your review of a piece of software you’ve used. Each teammate must do a different piece of software. Again, be creative, but follow these constraints:
- The title of the software must be prominently displayed.
- Your score out of 5 stars must be prominently displayed.
- A picture related to the software must be included.
- Some basic data about the software must be included, such as (but not limited to) the maker, the year of release, and supported OSs.
- Text detailing your review.
- A mock form that allows visitors to leave feedback; however, this form will just be for show and will not actually work. The form must contain each one of the following form elements at least once (but may contain more): a (short) text input field, a (larger) text area field, a radio button with at least 3 options, a drop-down list with at least 3 items, and a button.
Each of your pages must use each of the following HTML tags at least once (again, some creativity may be required on your part to work all of these in):
h1– Level-1 headingh2– Level-2 headingp– Paragraphul/li– Unordered list
Each of your pages must use each of the following Rails view helper methods:
link_to- Hyperlinkimage_tag- Image embedding (hint: by default, image files are loaded fromapp/assets/images/, so you should save your images there)
Your form for the second page must use each of the following HTML tags:
form– Input form containing the following elements:input- Text field (type=text)textarea- Text areainput– Radio buttons (type="radio")datalist– Dropdown list (doesn’t do anything other than let you choose an item)button– Button (doesn’t do anything when pressed)
Your two pages must use these tags in noticeably different ways (i.e., the two pages cannot look too similar). Also, all teammates’ pages must look noticeably different from each others’.
When you create your pages, add the appropriate routes, controller actions (i.e., in PagesController), and ERB views.
Step 3. Add links on the About page
You must add hyperlinks (using the link_to helper) to your pages on the About page. This will enable visitors (and graders) to conveniently navigate to each team member’s pages.
- The link text for the profile page should be “Profile for Lastname, Firstname”.
- The link text for the software review page should be “Firstname’s review of SoftwareName”.
One member of the team should update the About page’s heading to include your team’s name. He/she should also delete the example items/links, so that only your team’s profile-page links remain. (Failure to do this correctly, will result in deductions from all team members.)
Step 4. Submit (by tagging) your team’s submission
Before you can submit, all team members must have merged their code into the master branch and pushed the updates to GitHub. If a team member does not complete their work on time, the rest of the team may submit without that team member’s contribution.
To submit your team’s work, you must “tag” the current commit in the master branch:
git tag -a hw03v1 -m 'Tagged Homework 3 submission (version 1)'git push origin --tags
To grade your work, I will check out the appropriate tag, and run it on my machine.
Note that if for some reason you need to update your submission, simply repeat the tagging process, but increment the version number (e.g., hw03v2, hw03v3, hw03v4, etc.).
Rubric
Total marks: 100
The bullets below indicate standard deductions for errors in a submitted item. The deduction list below may not be complete because there may be mistakes that we did not expect. The deduction for an unexpected mistake will be assessed at the time it’s discovered and will reflect how severe the instructor thinks the mistake is.
- General Errors:
- Glaring syntax errors in the HTML: -3 per instance
- Special cases:
- Missing
ul, but did useli: -2 per instance - Radio button with only one option: -3 per instance
- Radio button with only two options: -1 per instance
- Missing
- Both Personal Profile and Software Review Pages:
- No Image (missing jpg/png file): -5 per instance
- Missing required tags or helper methods: -5 per instance
- Replacing required tags or helper methods with another similar but different element: -2 per instance
- Duplicating code in
application.html.erb: -5 (taken only once) - Pages are essentially duplicates of one another (i.e., too similar): -25 (taken only once)
- Personal Profile Page Only:
- Name not displayed prominently: -3
- Page resource pattern (URL) not the student’s UofM username: -5
- Image displays, but it is not student’s own picture: -3
- Software Review Page Only:
- Title of the software not prominently displayed: -3
- Score out of 5 stars not prominently displayed: -3
- Image displays, but it is not related to the software: -3
- No basic data about the software included: -3
- No text detailing your review: -3
- About Page:
- No hyperlink to profile page: -10
- Hyperlink to profile page present, but text not “Fleming, Scott” form: -3
- No hyperlink to software review page: -10
- Hyperlink to software review present, but text not “Firstname’s review of software name” form: -3
- Broken hyperlink: -5 per instance
- No updated heading with team name: -3
- Routes:
- Missing routes entry: -4 for each missing route
- Incorrect route:
- Missing/incorrect controller action: -2 per instance
- Controller:
- No controller action created for page: -3 per instance
- Created a new controller instead of merging into Pages controller: -10 (taken only once)
- GitHub Submission:
- No tag: -10
- Latest tag not the full submission: -7
- Tag does not follow naming convention: -3